


.webp)
.webp)
Why Adhesive Rulers Save Time
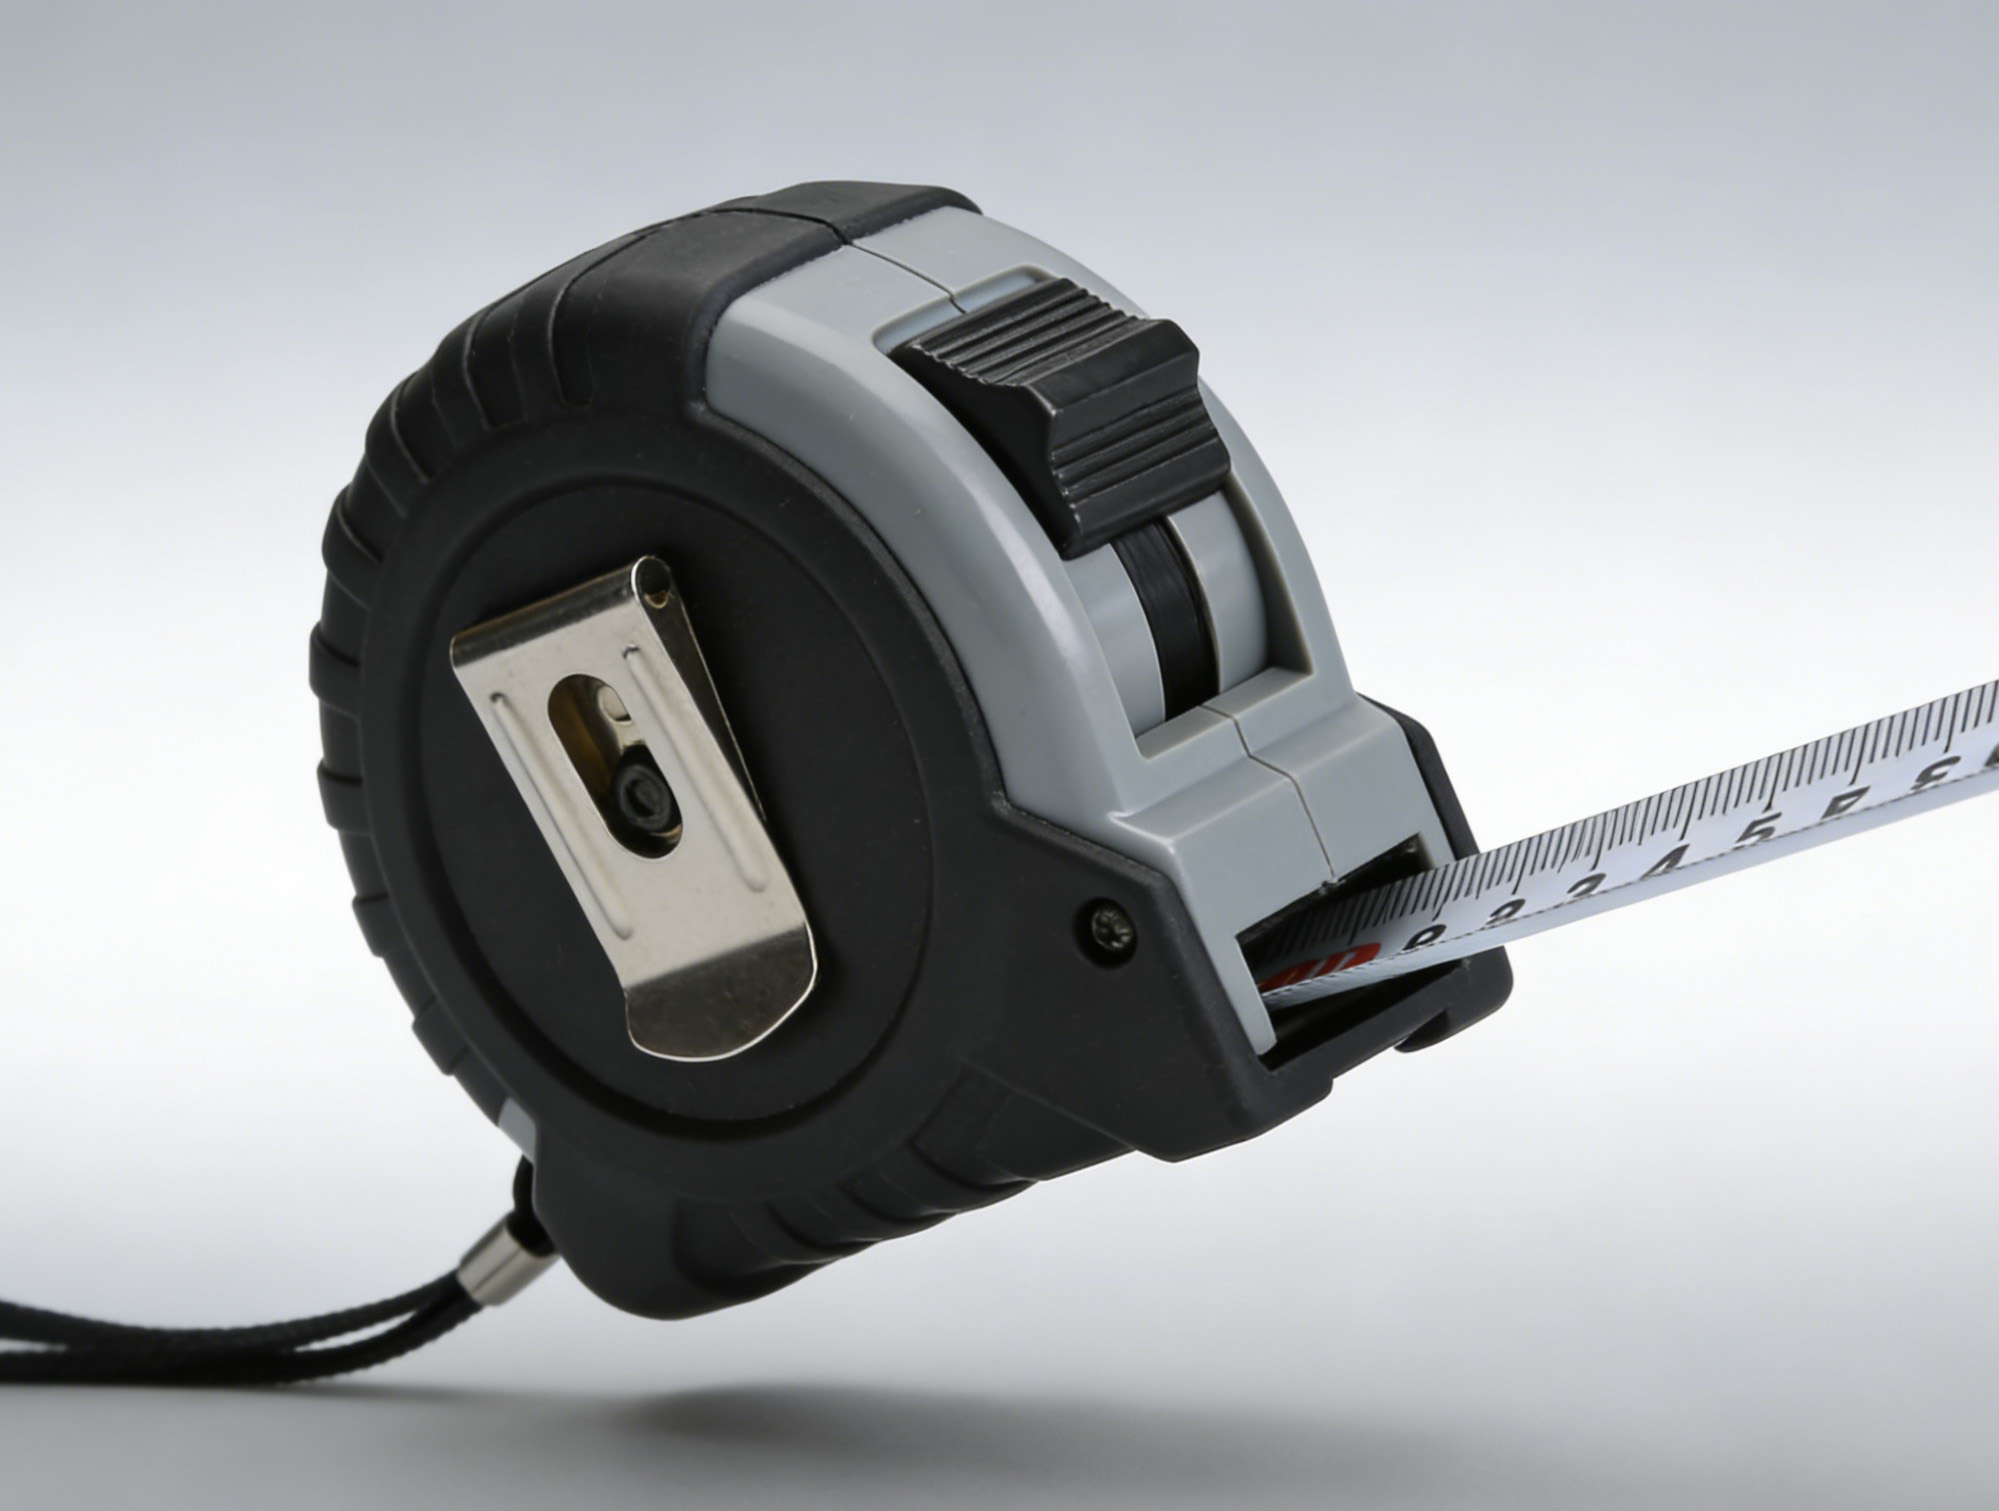
Adhesive rulers fix a big problem. Measuring takes too long in workshops. You pick up a tape measure every cut. You check numbers again and again. This wastes hours every week. Sticky rulers solve this. They stick to your tools forever. You see measurements right at the blade. Your hands stay free. You push wood straight to the blade. No stopping. No mistakes.
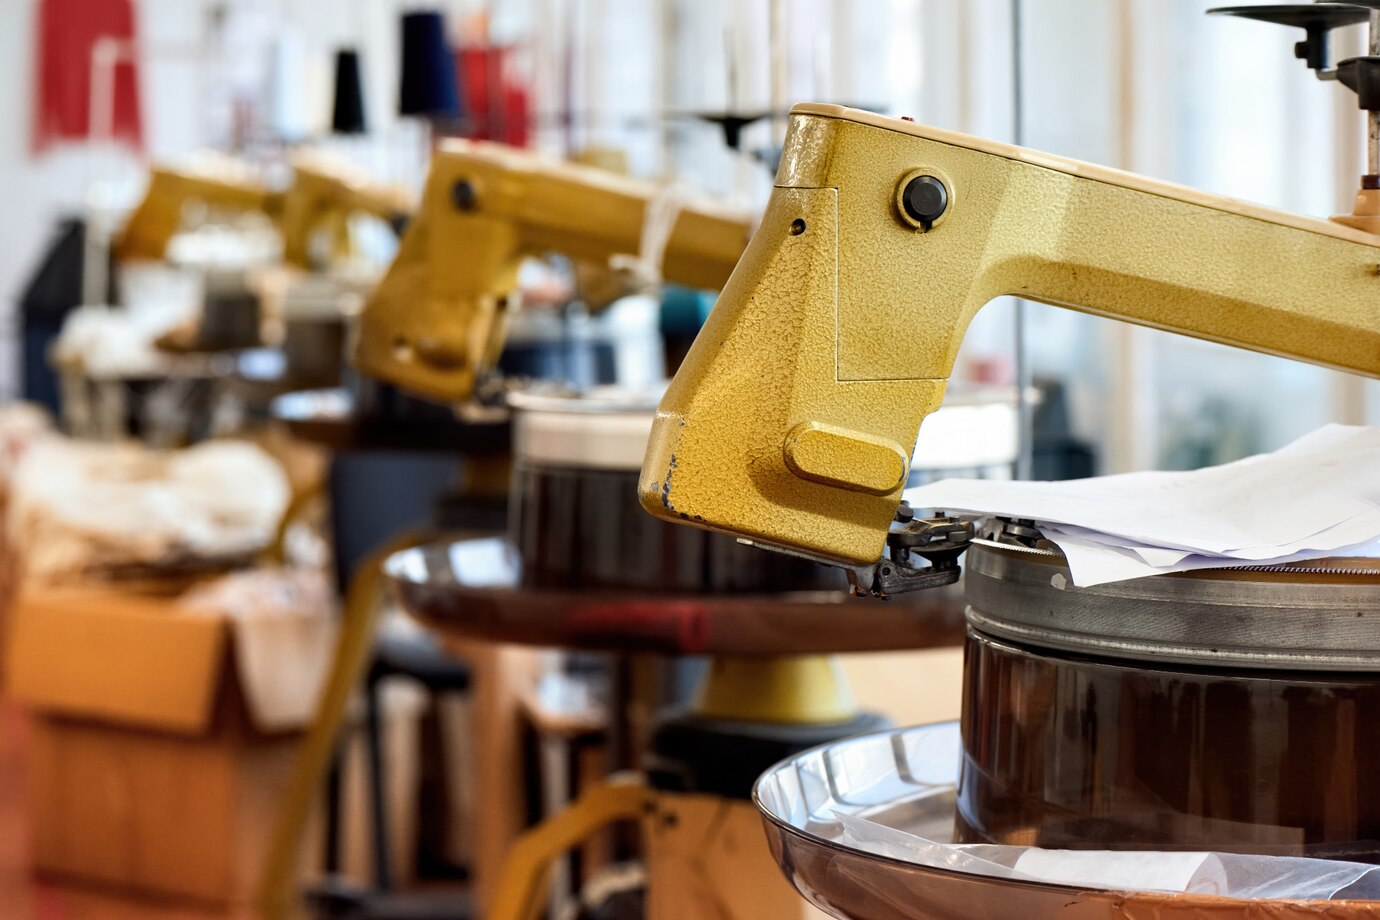
Table saws and router tables love these rulers. Your fence shows exact cutting sizes. You rip wood faster. You make cabinets with perfect joints. Router bits align in seconds. Workshops report big time savings. Tom from Ohio cuts 100 boards daily. He saved 90 minutes after installing his ruler. Lisa in Texas builds tables. She finishes projects 30% faster now.
Simple Installation Steps
Installation takes ten minutes. You need three things: your adhesive ruler, rubbing alcohol, and a clean cloth. Follow these steps:
First, clean the saw fence or router table. Wipe the metal surface hard. Use rubbing alcohol on your cloth. Remove all grease and dust. Dirty surfaces ruin adhesion. Dry the area completely.
Second, peel the ruler’s backing paper. Start at one end. Hold the ruler over the fence. Align the "0" mark with your saw blade. This step is critical. Press the ruler onto the fence. Start near the blade. Push toward the far end slowly. Squeeze out air bubbles with your thumb.
Third, check alignment immediately. Slide your saw fence left. Measure from blade to ruler. Use a steel square for precision. Adjust before the adhesive sets. Most rulers allow repositioning for five minutes.
Calibration Secrets
Calibration makes your cuts dead accurate. Do this after installation:
Step 1: Cut a test board. Set your fence to 5 inches. Cut a scrap wood piece. Measure its width with a trusted caliper.
Step 2: Check the ruler. Does it show exactly 5 inches? If not, loosen the ruler gently. Shift it left or right slightly. Most rulers have micro-adjustment room.
Step 3: Test repeatedly. Cut boards at 1", 10", and 24". Verify all measurements. Fix errors at once.
Pro tip: Account for blade kerf. Set your ruler "0.125 inches left for 1/8" blades. Mark this offset with red tape.
Maximizing Long-Term Accuracy
Keep your ruler working perfectly for years:
Clean it daily. Sawdust hides numbers. Wipe the ruler with a dry rag after work. Use alcohol monthly for sticky residue.
Avoid heat damage. Router tables get hot. Choose heat-resistant rulers (up to 150°F/65°C). Position rulers away from bit friction zones.
Check alignment quarterly. Loosen fence bolts. Re-measure blade-to-ruler distance. Tighten bolts evenly.
Upgrade for tough jobs. Use steel-core rulers for production shops. Try glow-in-the-dark scales for low-light areas.
Real results: Michigan cabinet shop saw 90% fewer measurement errors. Oregon DIY group reduced project time by 40%.
Final Checklist
Clean surface → Use alcohol
Align "0" → Match blade center
Test cuts → Verify 3 measurements
Adjust → Shift ruler early
Maintain → Weekly wipe-downs
Sticky rulers transform cutting work. Install yours today.


Wintape Measuring Tape Company
Custom Tape Measure Manufacturers
For All Your Measuring and Promotional Needs.
86-18588000509
cici@tape-measure.com
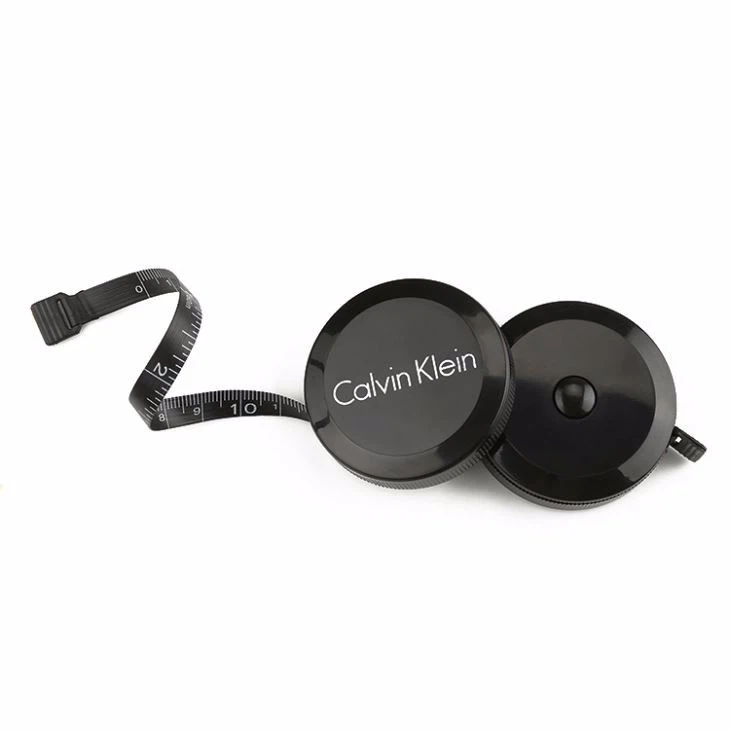
Custom Tailor Measuring Tape
Custom Body Measuring Tape
Custom Paper Measuring Tape
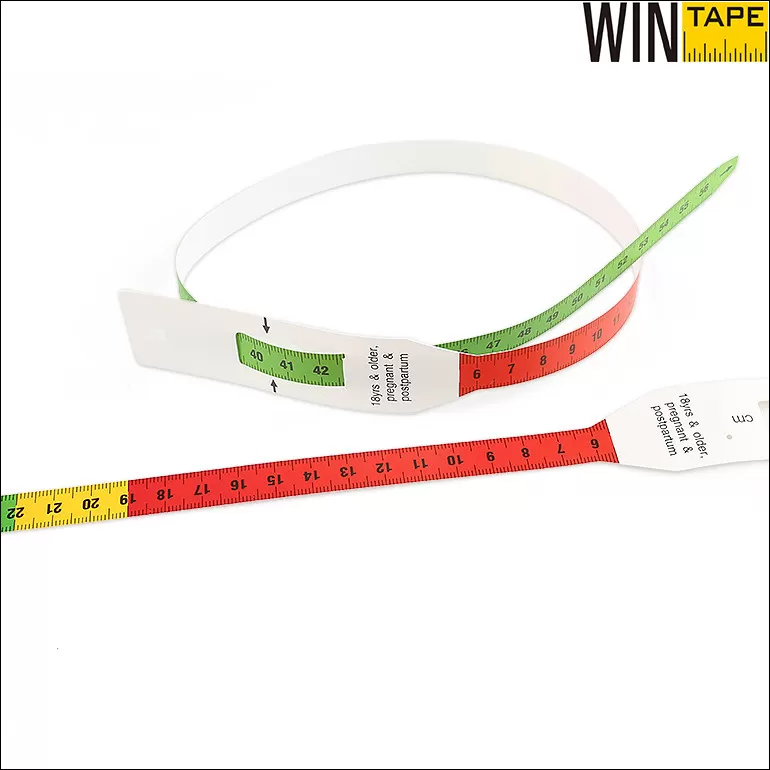
Custom MUAC Tape
Custom Wound Ruler
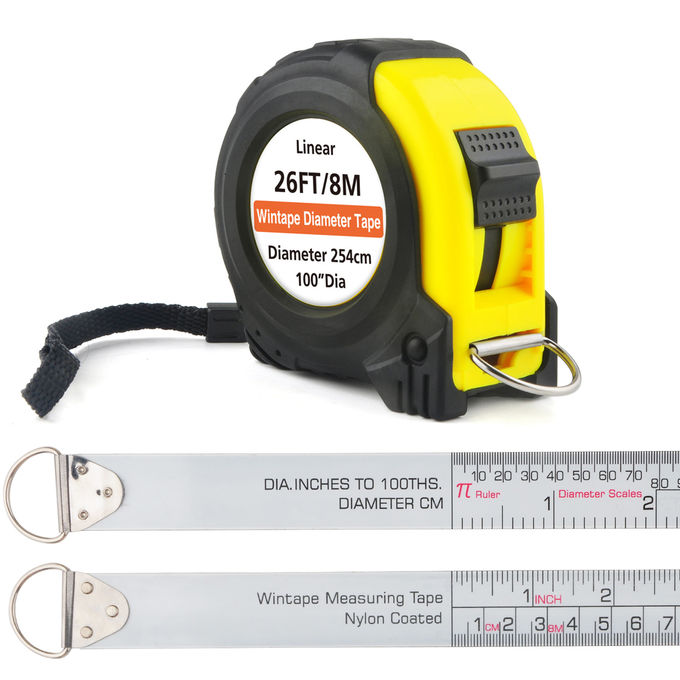
Custom Diameter Pi Tape
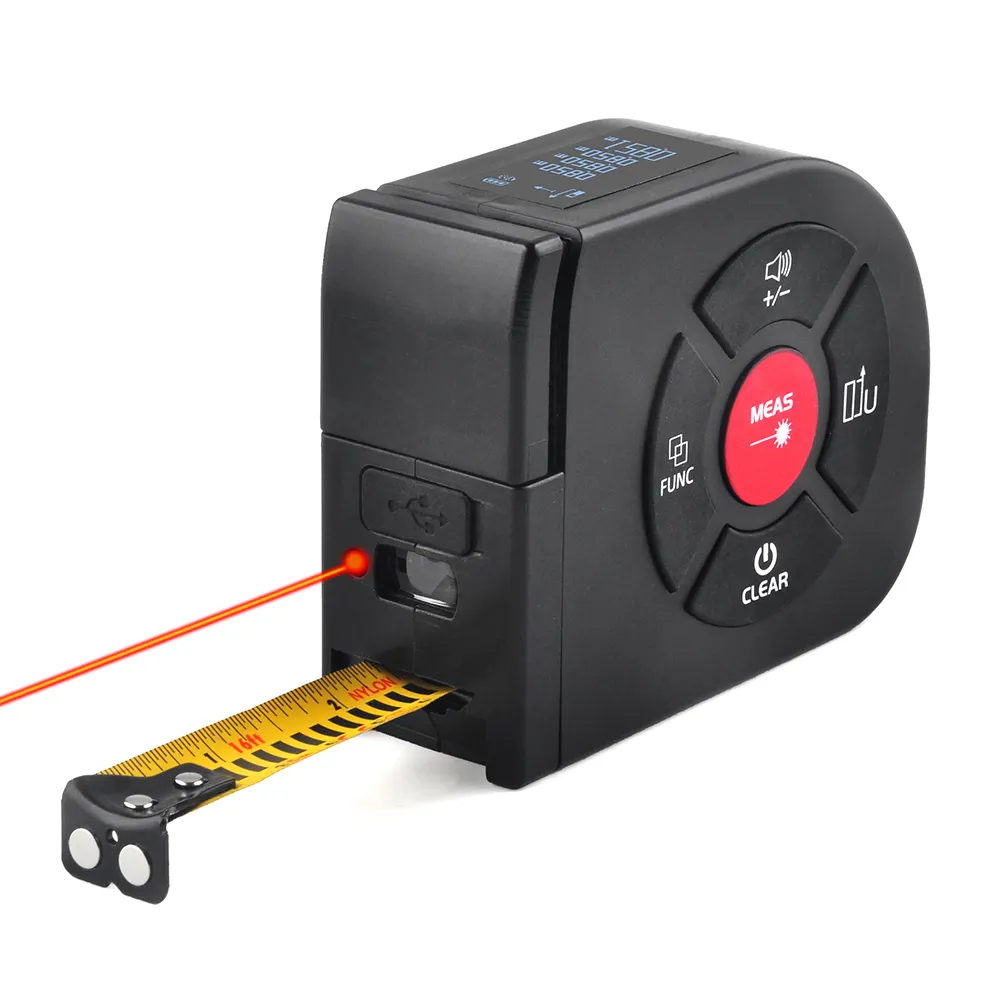
Custom Digital Tape Measure Laser
Custom Adhesive Measuring Tape
Custom Mini Tape Measure
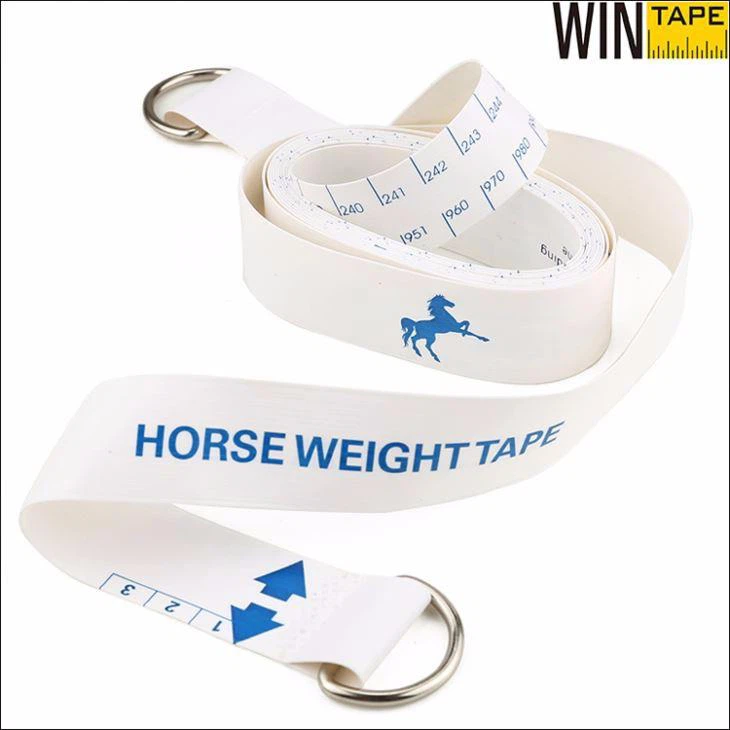
Custom Horse Weight Tape
Custom Stainless Steel Tape Measure
Custom Long Tape Measure
Custom Measuring Tape
© 2025 Wintape Tape Measure Co.,Ltd | Privacy Policy | Sitemap | Contact Us | Powered by matchPages